Using Windows Subsystem for Linux

The blog post Getting Linux on Windows 10 with WSL - Some basic installation instructions pitfalls and comments https://microcollaborative.atlassian.net/wiki/spaces/DSC/pages/102334523/Using+Windows+Subsystem+for+Linux# provides some references for getting started with the Windows Subsystem for Linux (WSL), with an emphasis of getting R running on Ubuntu. However, having R on a local machine is not necessary when working with resources like Teton.

This How-To, therefore, is going to focus on just the first part of the blog, related to getting WSL running on Windows, and provide some more explicit steps for getting you up and running. If you've played around with Linux on Windows before, you are probably familiar with partitioning for the purposes of dual-booting. WSL is not a dual-boot solution, and is remarkably simple to implement (much more so than a dual boot scenario, in my experience). It's also nice, because this means you can interact with a Linux environment, while staying in Windows, as opposed to having to boot into a Linux partition, and thus not having access to the same Windows resources you might be used to. The Linux environment associated with WSL is also not associated with a graphical user interface – everything is done via the terminal / command line.

Approximate time to complete tutorial: 5-20 minutes.

You will have to restart your computer to complete this tutorial.

You will need Windows 10 to finish this tutorial. Specifically, you will need Windows 10 version 1709 (Fall Creator's Update) or later.


Step-by-step Guide:

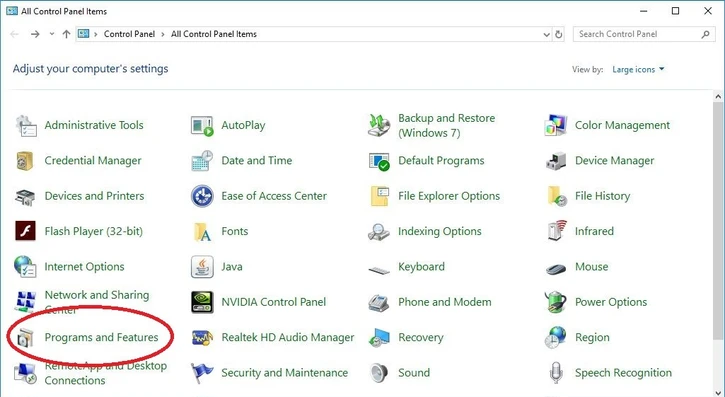
  1. Open the 'Control Panel'

  2. Click on 'Programs and Features'Windows control panel

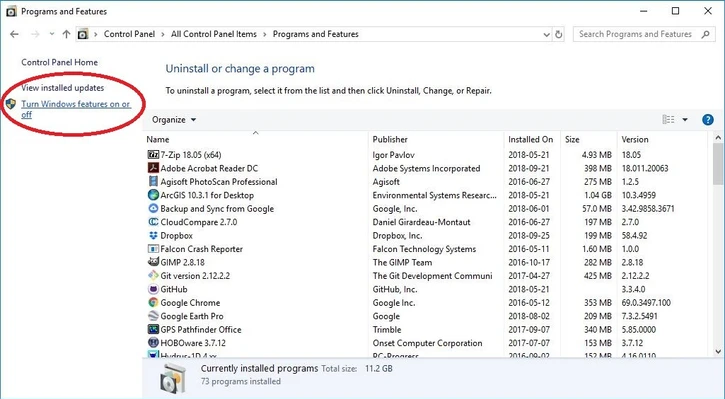
  3. Click on 'Turn Windows features on or off'Window's programs and features panel

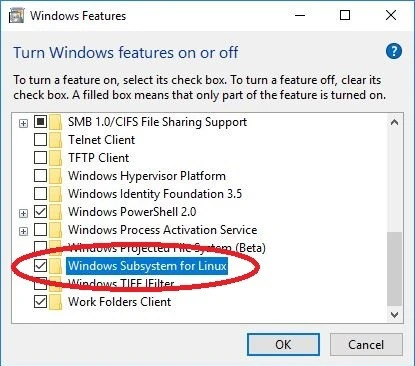
  4. Check the 'Windows Subsystem for Linux' boxWindows's turn features on or off panel

  5. Restart your computer

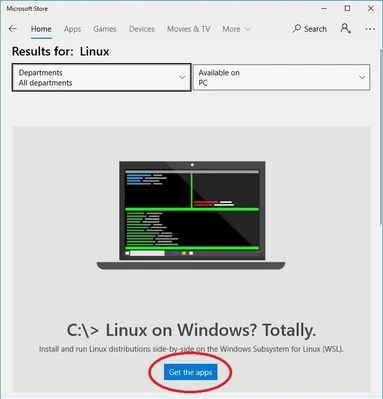
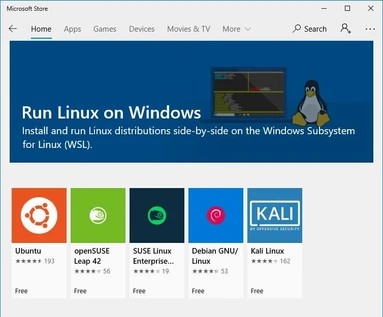
  6. Search the Microsoft store for 'Linux'Microsoft store front page

  7. Click on the 'Get the App' Button associated with the 'Linux on Windows?' appSearch result for Linux in Microsoft store

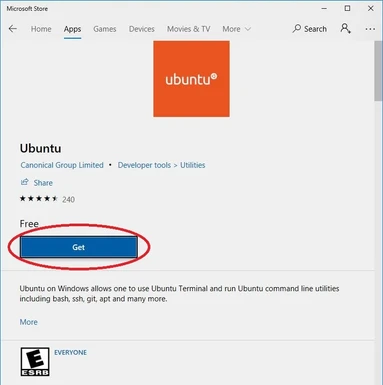
  8. Select your preferred type of Linux, we will use Ubuntu for this tutorialDifferent options for Linux apps

  9. Click on the 'Get' buttonStore page for Ubuntu

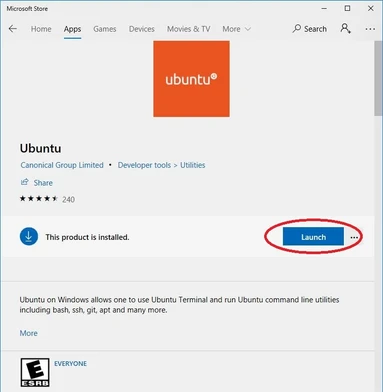
  10. Click on the 'Launch' buttonCircled launch button on Ubuntu store page

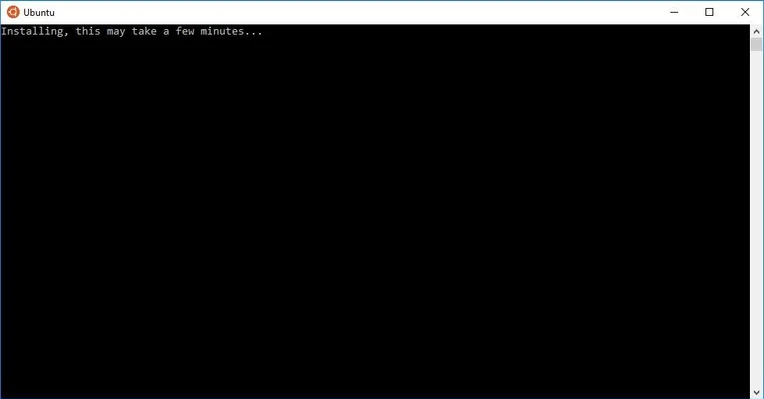
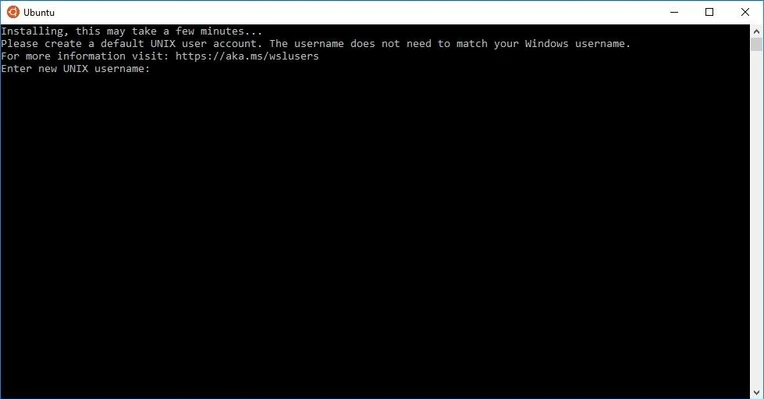
  11. Wait while Ubuntu (or whichever verson of Linux you picked) installsCommand line installation of Ubuntu

  12. Enter a usernameCommand line promt to enter a username

  13. Enter and verify your pass (it is important you do not lose your password)Command line promt to enter a password

  14. You are done installing a Windows Subsystem for Linux

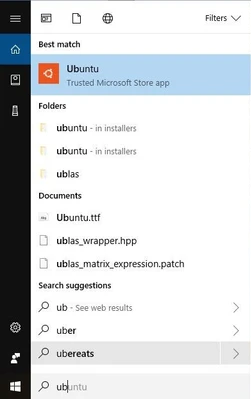
  15. To access Ubuntu after you've closed the terminal (command line), you can search for it in the Windows search barWindows search for Ubuntu

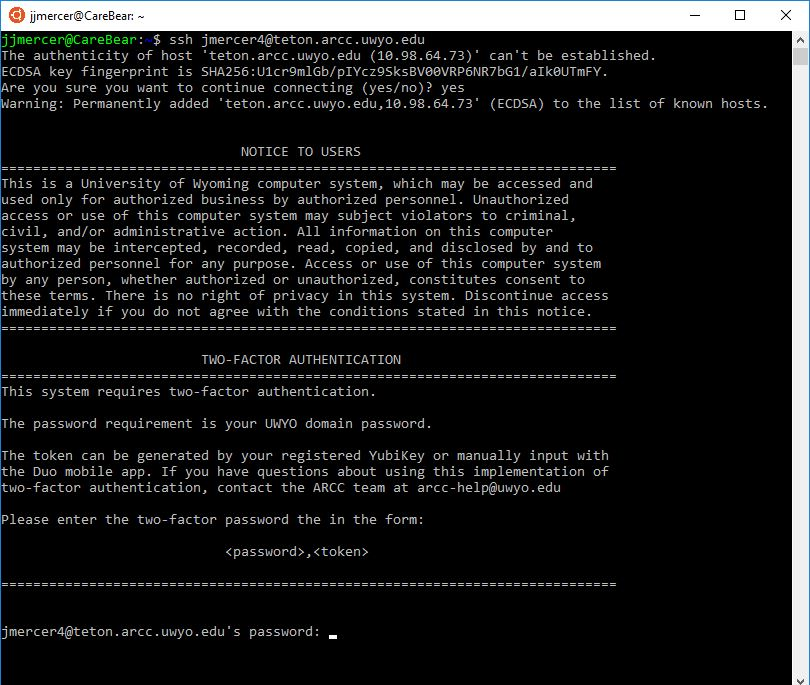
  16. Once the terminal is open, you can access Teton just like you would with a Linux or Mac computerLinux terminal accessing teton


Related Articles: