
What to Know Before You Edit
Check Out First
A page has to be checked out before you can see its editable regions or view and edit the Parameter and Multi edit sections. Click into an editable region or turn on the light bulb icon to check the page out.
Don't Delete Snippets
Never delete a snippet from your page. If you don't want to use one that's already there, turn off that Content Section in Page Parameters instead.
Sections Are Fixed
Content sections cannot be deleted or rearranged. Every section, including the intro content and numbered main content sections, is turned on by default when a page is created. You can choose which sections to display by toggling them on or off.
Video Tutorial
This tutorial walks through the editable regions on a page, how sections behave while you're editing and how to preview and publish your work. Follow along the first time you take a page through the full process.
Step-by-Step Instructions – Editing, Saving and Publishing a Page
Let's walk through editing a page from start to finish, including the habits that make it easier to recover if something goes wrong. We strongly encourage you to follow along with the video tutorial above the first time you take a page through the full process.
Open your page in the CMS and check it out for editing using the light bulb icon.
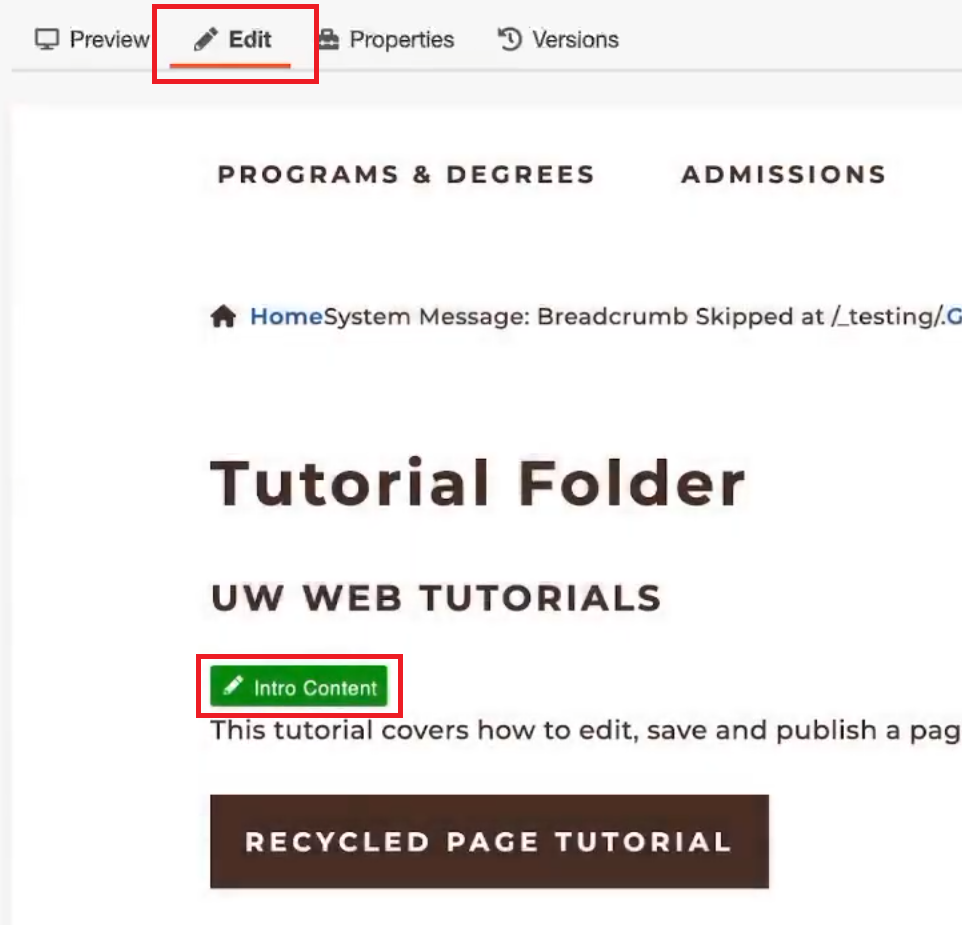
Make sure you're in the Edit tab. The Preview tab is useful for reviewing how your
live page will look on desktop, tablet and mobile.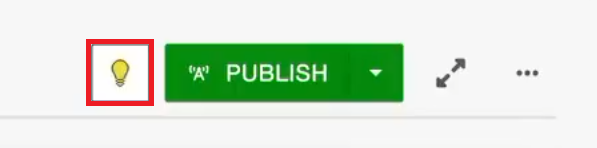
In the Edit tab, green buttons mark the sections available to edit. Each section contains pre-designed snippets. Never delete a snippet. If you don't want to use one, turn the section off in Properties instead. If you delete one by accident, submit a help ticket in the CMS and we'll restore it for you.
Click Save when you finish editing a section. This saves your changes and returns
you to the Edit tab so you can continue working on other sections.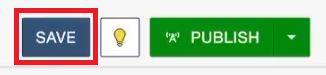
Some templates include blank content sections you can fill yourself. Select the green edit content button, click inside the editing area, then click the puzzle icon in the WYSIWYG toolbar to browse the available snippets.
Enable spell check in the WYSIWYG toolbar so you can catch and fix spelling errors while you're editing rather than after.

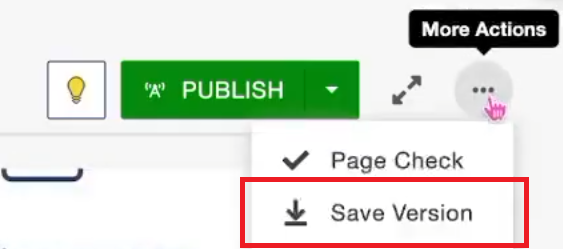
Make a habit of saving versions as you work. To save a version, select the three dots in the upper right, choose Save Version, add a helpful version description, then select Save Version. Saved versions give you something to revert to if you make a mistake or run into a browser error.
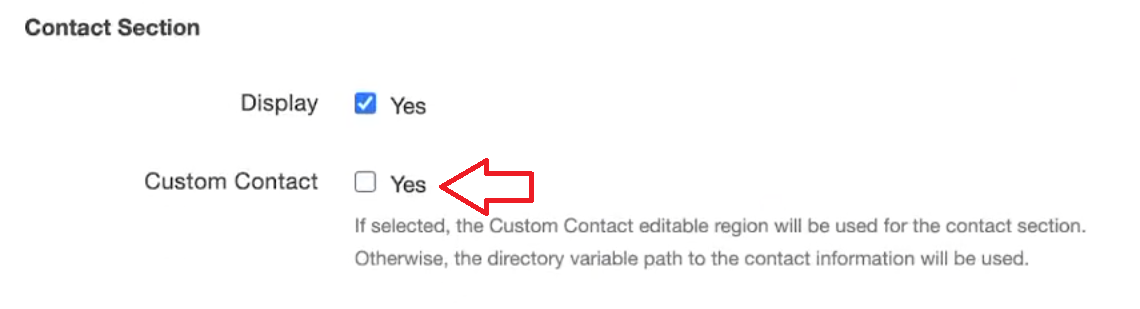
The Properties tab holds several important options. Add a description and keywords so people can find your page through search. You can also set the page heading, subheading, custom breadcrumb (available on any page except an index page) and page banner type, which controls how your intro content displays. This is also where you turn off content sections you aren't using.

If one or two pages on your site need contact details different from the rest, you can add a custom contact section here. Use the contact info component and its pre-designed fields, available through the atom icon in the WYSIWYG toolbar. If several pages need different contact information from your main site, send us a help ticket with the details and we'll get it added for you.
News, blog, person bio and listing pages include a multi-edit option with additional
page properties, so take time to get familiar with it. If the multi-edit button stops
showing next to the light bulb icon, open the Properties tab and select Multi-Edit
Content on the left to bring it back.
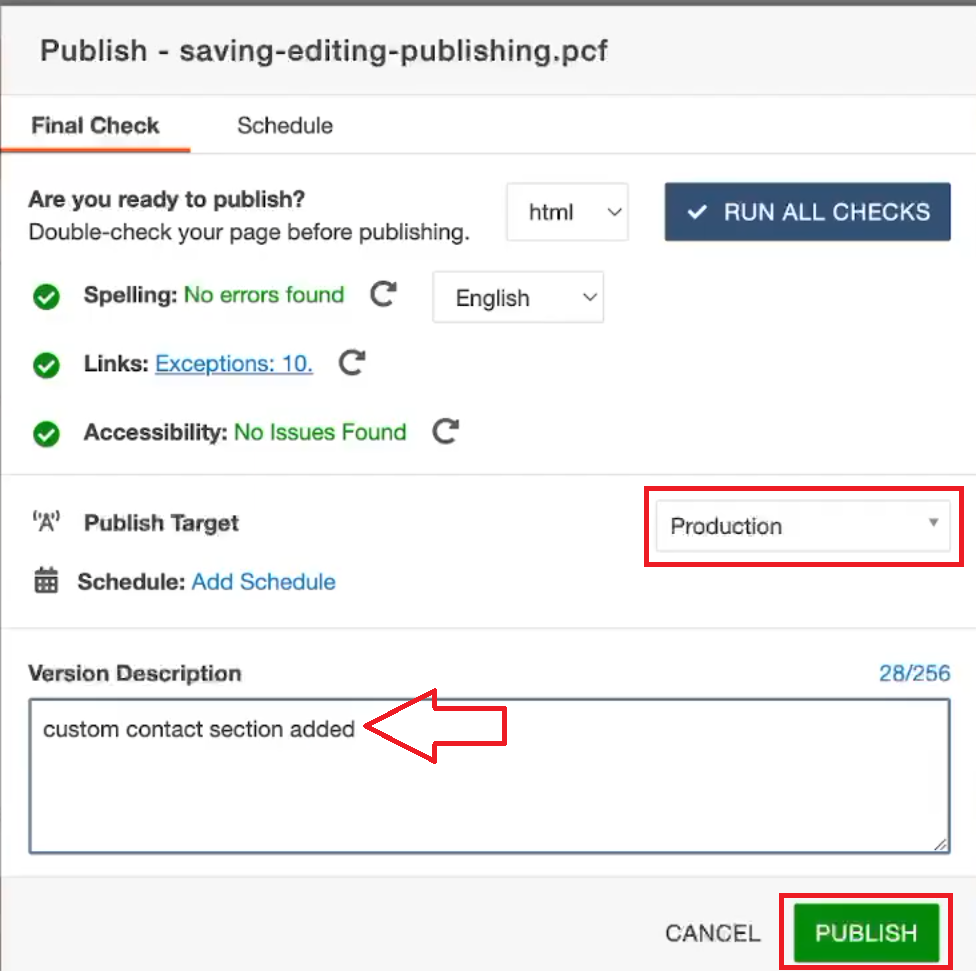
Once your edits look right in the Preview tab, click the green Publish button. Run page checks to confirm spelling, links and accessibility all pass, then publish to both Dev and Production so your current version exists in both environments. Publishing to Dev before Production will let you view what the live page will look like and you can perform additional accessibility scans on the page, test the view for different screen sizes or share the page with any stakeholders in your department/unit that are not site editors.
Add a helpful version description before you publish.
The live page link appears in the lower left corner when publishing to Dev or Production finishes.

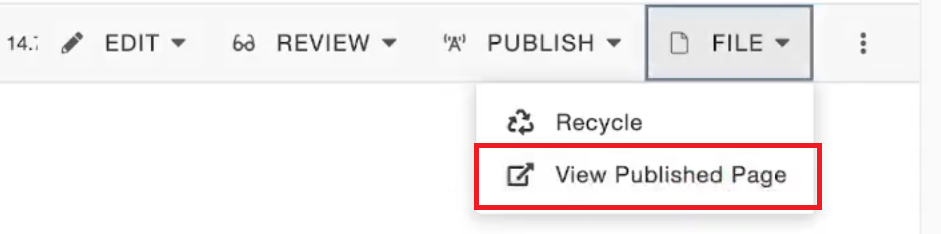
To return to the live version from the CMS, select the three dots next to the page in your site folder, choose File then View Published Page.
Check the page out and open the Versions tab to see its current and previous live
versions alongside your saved versions. The Published Target column shows which environment
each version went to. With the target set to main, select the three dots to the right
and choose View Page to open the live page in a new tab. You can also compare two
versions, or revert to an earlier one through the three dots.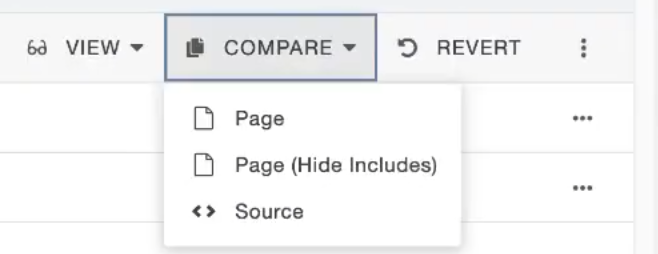

The University of Wyoming has earned its Research Level 1 (R1) status from the Carnegie Classification of Institutions of Higher Education, placing Wyoming's only four-year university with the top research universities in the United States.