
Important Tips for Creating and Placing Anchors
Naming Anchors
Anchor names cannot contain spaces or a "#" symbol. Use a simple, descriptive word (for example: contact).
Reusable links
Once an anchor is created, it can be linked to any page you have access to, not just the page where it lives.
Publishing required
Anchors are not available to test in the CMS preview. Your page must be published before anchor links will work. To test your anchors before going live, publish to the Dev environment first.
Anchor Video Tutorial
Adding and linking anchors in the CMS is a straightforward process. This video walks you through both placing an anchor on your page and linking to it, so you can direct visitors exactly where you want them to go.
Step-by-step instructions – Creating and linking anchors
Let's cover the steps for adding an anchor to a page and then linking to it. We strongly encourage you to follow along with the anchor video tutorial when creating your first anchor.
From the CMS dashboard, go to Content > Pages in the dropdown menu at the top of the screen. In the file structure, locate the
page you want to add the anchor to and click the file name to open it.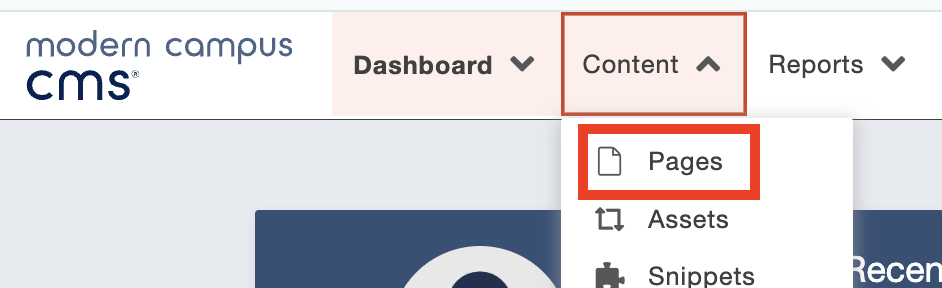
Open the editable region on the page where you want to insert the anchor. Place your
cursor at the exact location where the anchor should appear. Note that anchors must
be placed above and outside of any snippet, placing an anchor inside a snippet may
cause it to not function correctly.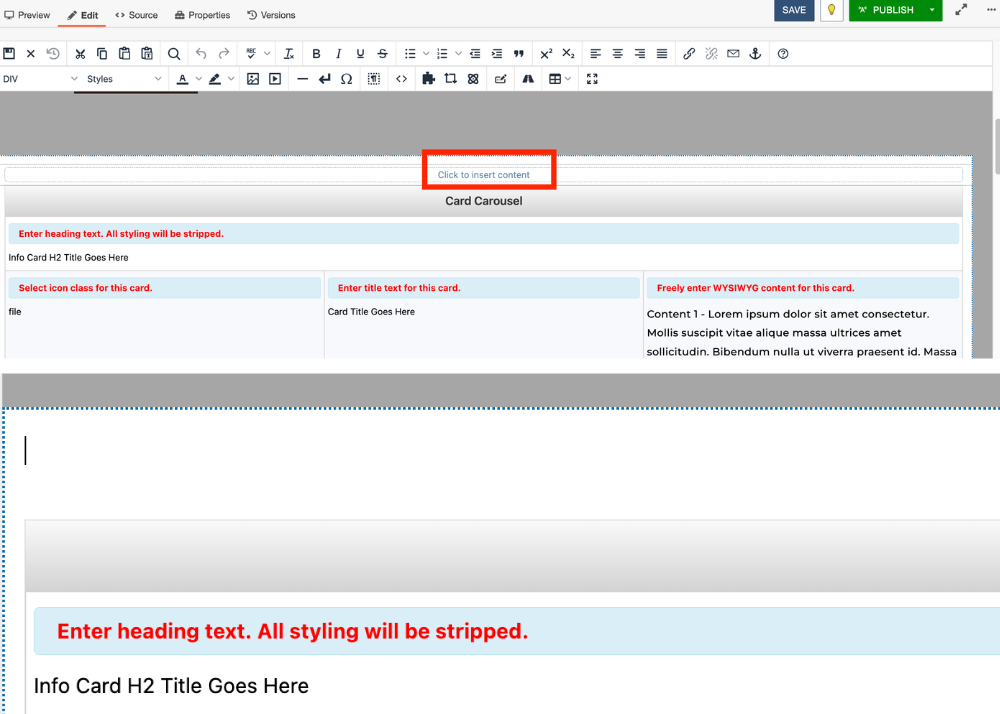
In the WYSIWYG toolbar, click the Anchor icon.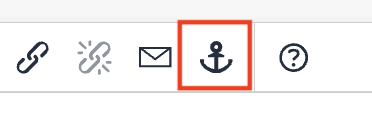
Enter a name for your anchor in the field provided, then click Save. Do not use spaces
or add a "#" before the anchor name.
Save the page to make the anchor available for linking. After saving, you will see
a small anchor icon appear in the text. This marker is only visible in the editor
and will not appear on the live page. 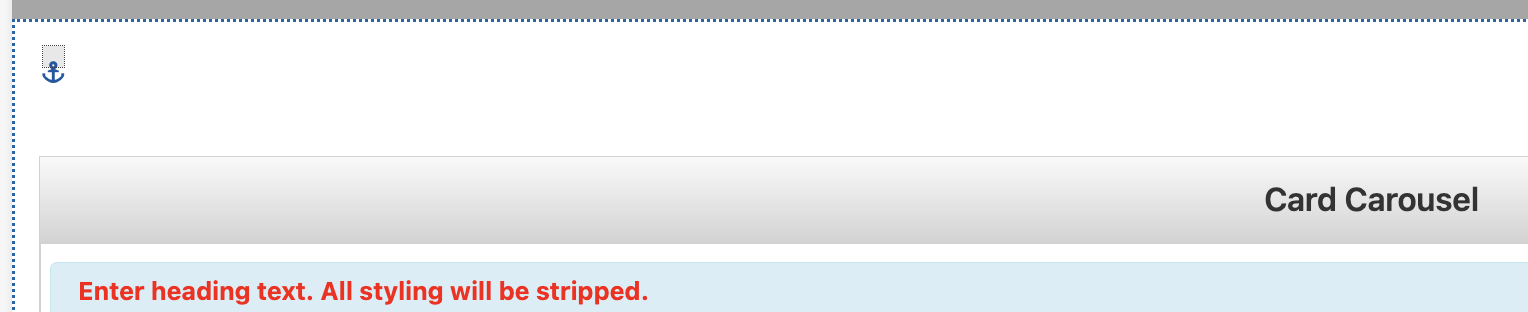
Open the page where you want to add the anchor link. This can be the same page where
you added the anchor or a different page. Open the editable region and select the
text/button/arrow where you want to link your anchor.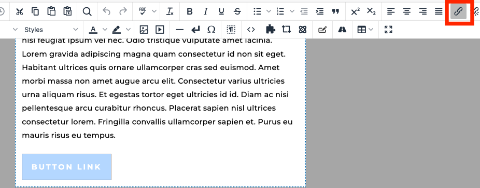
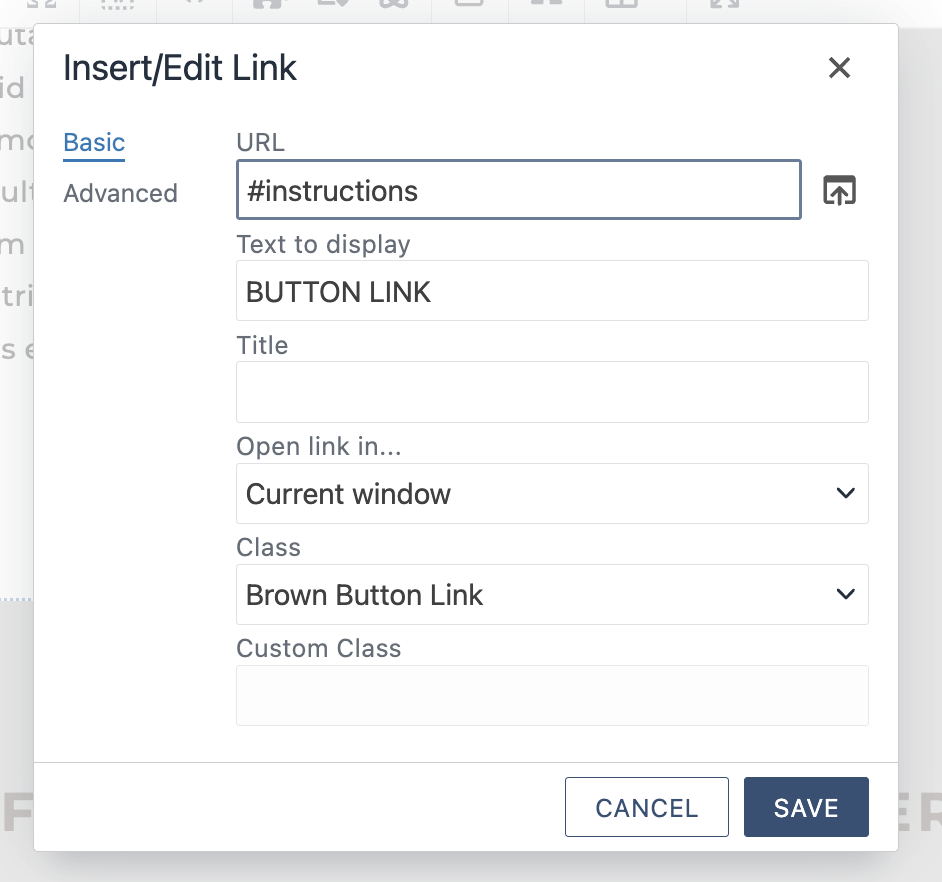
In the WYSIWYG toolbar, click the Insert/Edit Link icon to open the link dialog. In
the URL field, enter the anchor link using one of the following formats:
- Same page: Type the "#" symbol followed by your anchor name — for example: #instructions
- Different page: Type or link the dependency tag through the url finder for that page where the anchor
is located followed by "#" and the anchor name. For example: {{f:XXXXXXXX}}#instructions
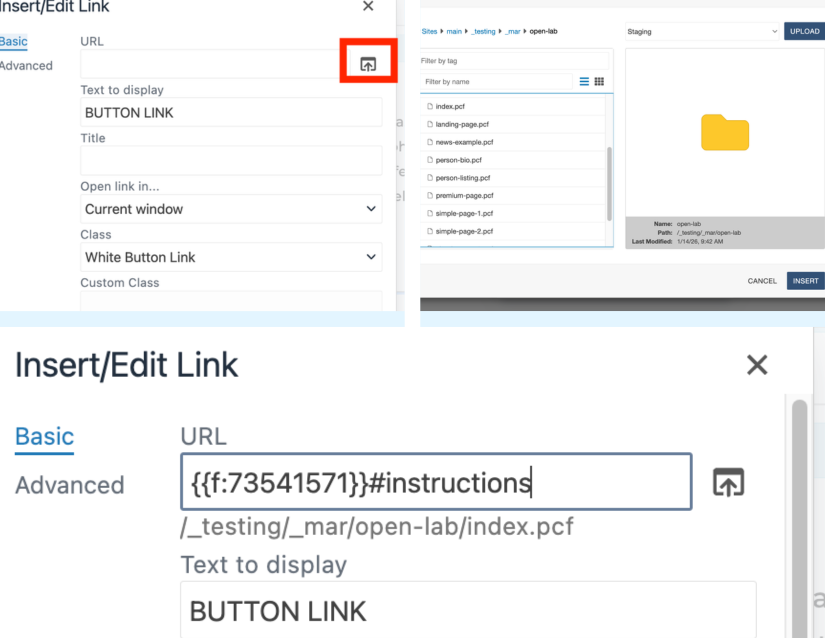
The dependency tag ensures the CMS maintains the correct link if the page path ever
changes. Contact your CMS administrator if you are unsure of a page's dependency tag or check out this tutorial on File Dependency Manager Tags.
Anchors are not available to test in the CMS preview. Your page must be published
before anchor links will work. To test your anchors before going live, publish to
the dev environment first. Once it is confirmed anchors are in place and working,
continue to publish to Production.
Need a refresher on how to publish to Dev? Check out this tutorial on Page Proofing.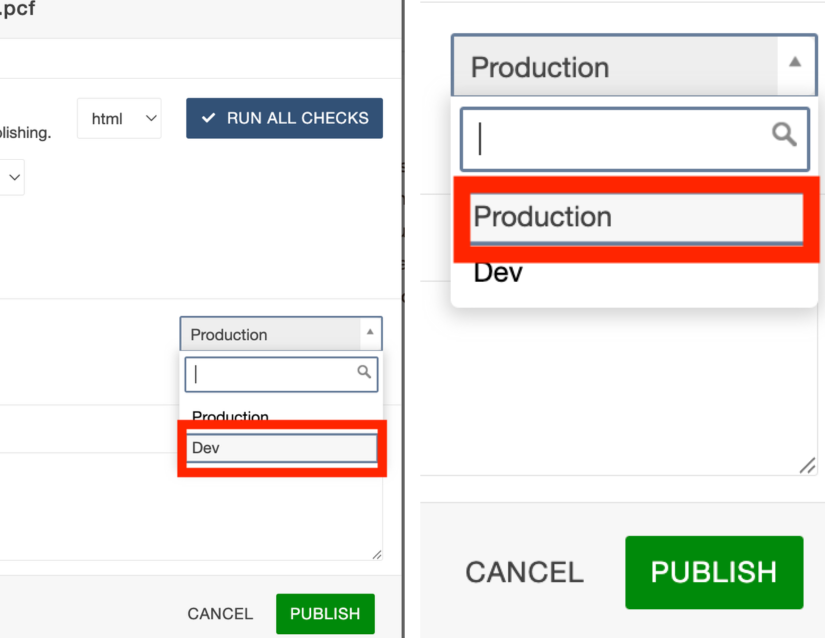
The University of Wyoming has earned its Research Level 1 (R1) status from the Carnegie Classification of Institutions of Higher Education, placing Wyoming's only four-year university with the top research universities in the United States.