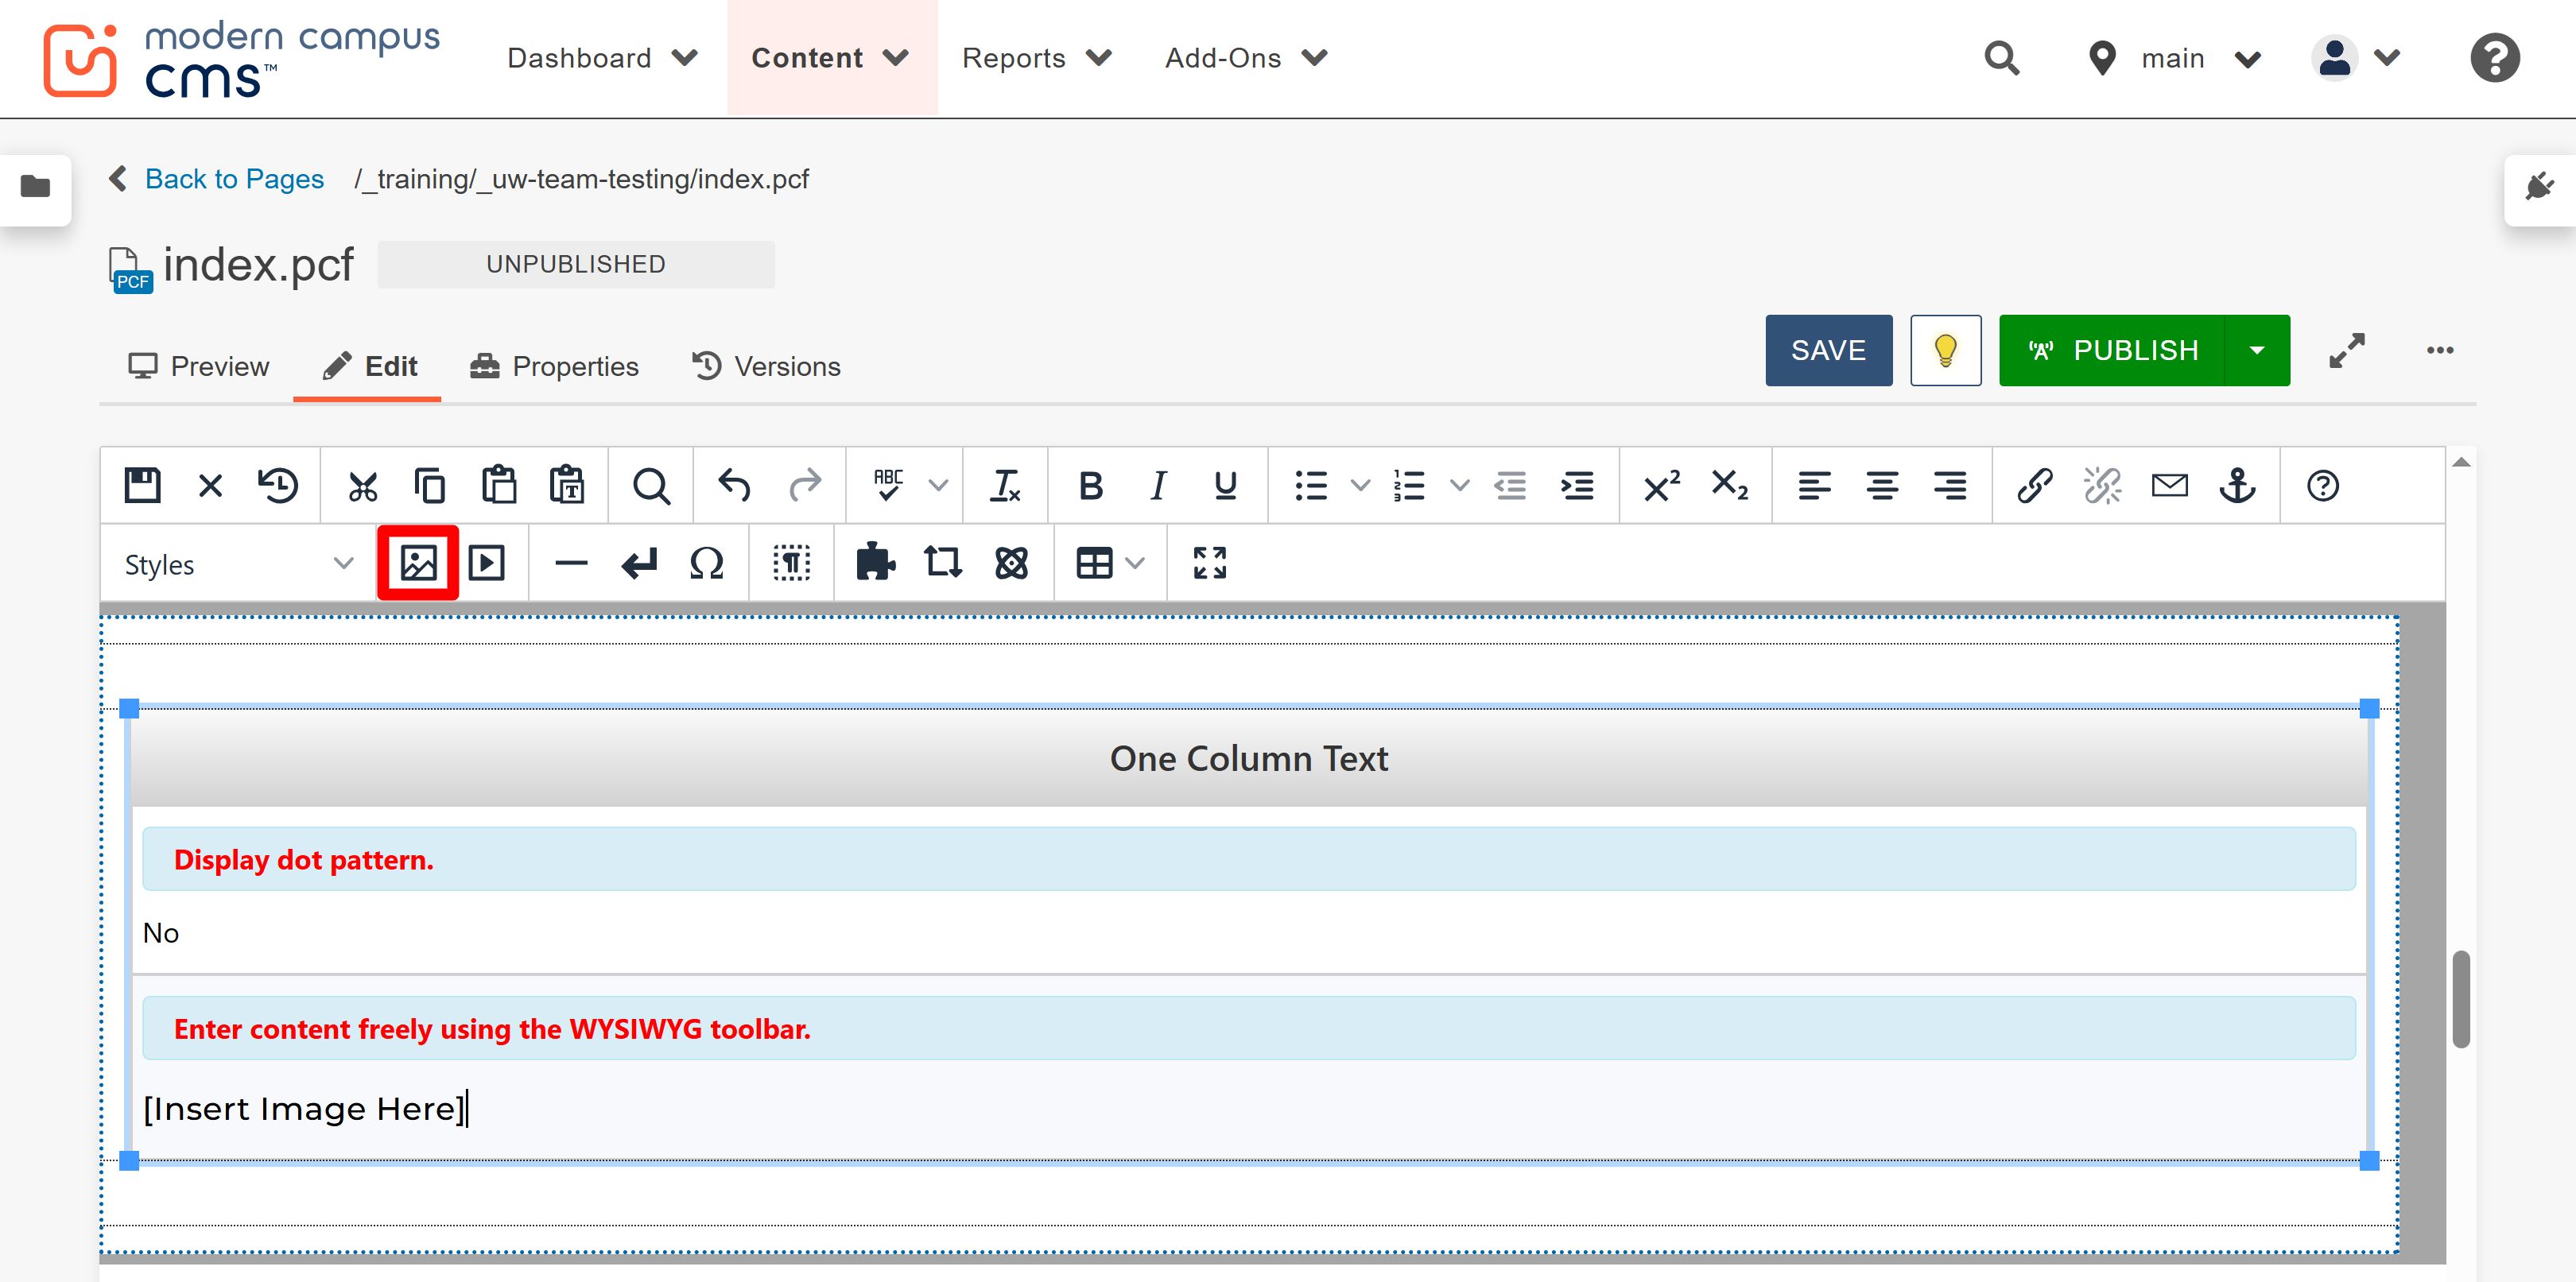
- From inside the snippet content region, click the Insert/edit image button on the
WYSIWYG toolbar.
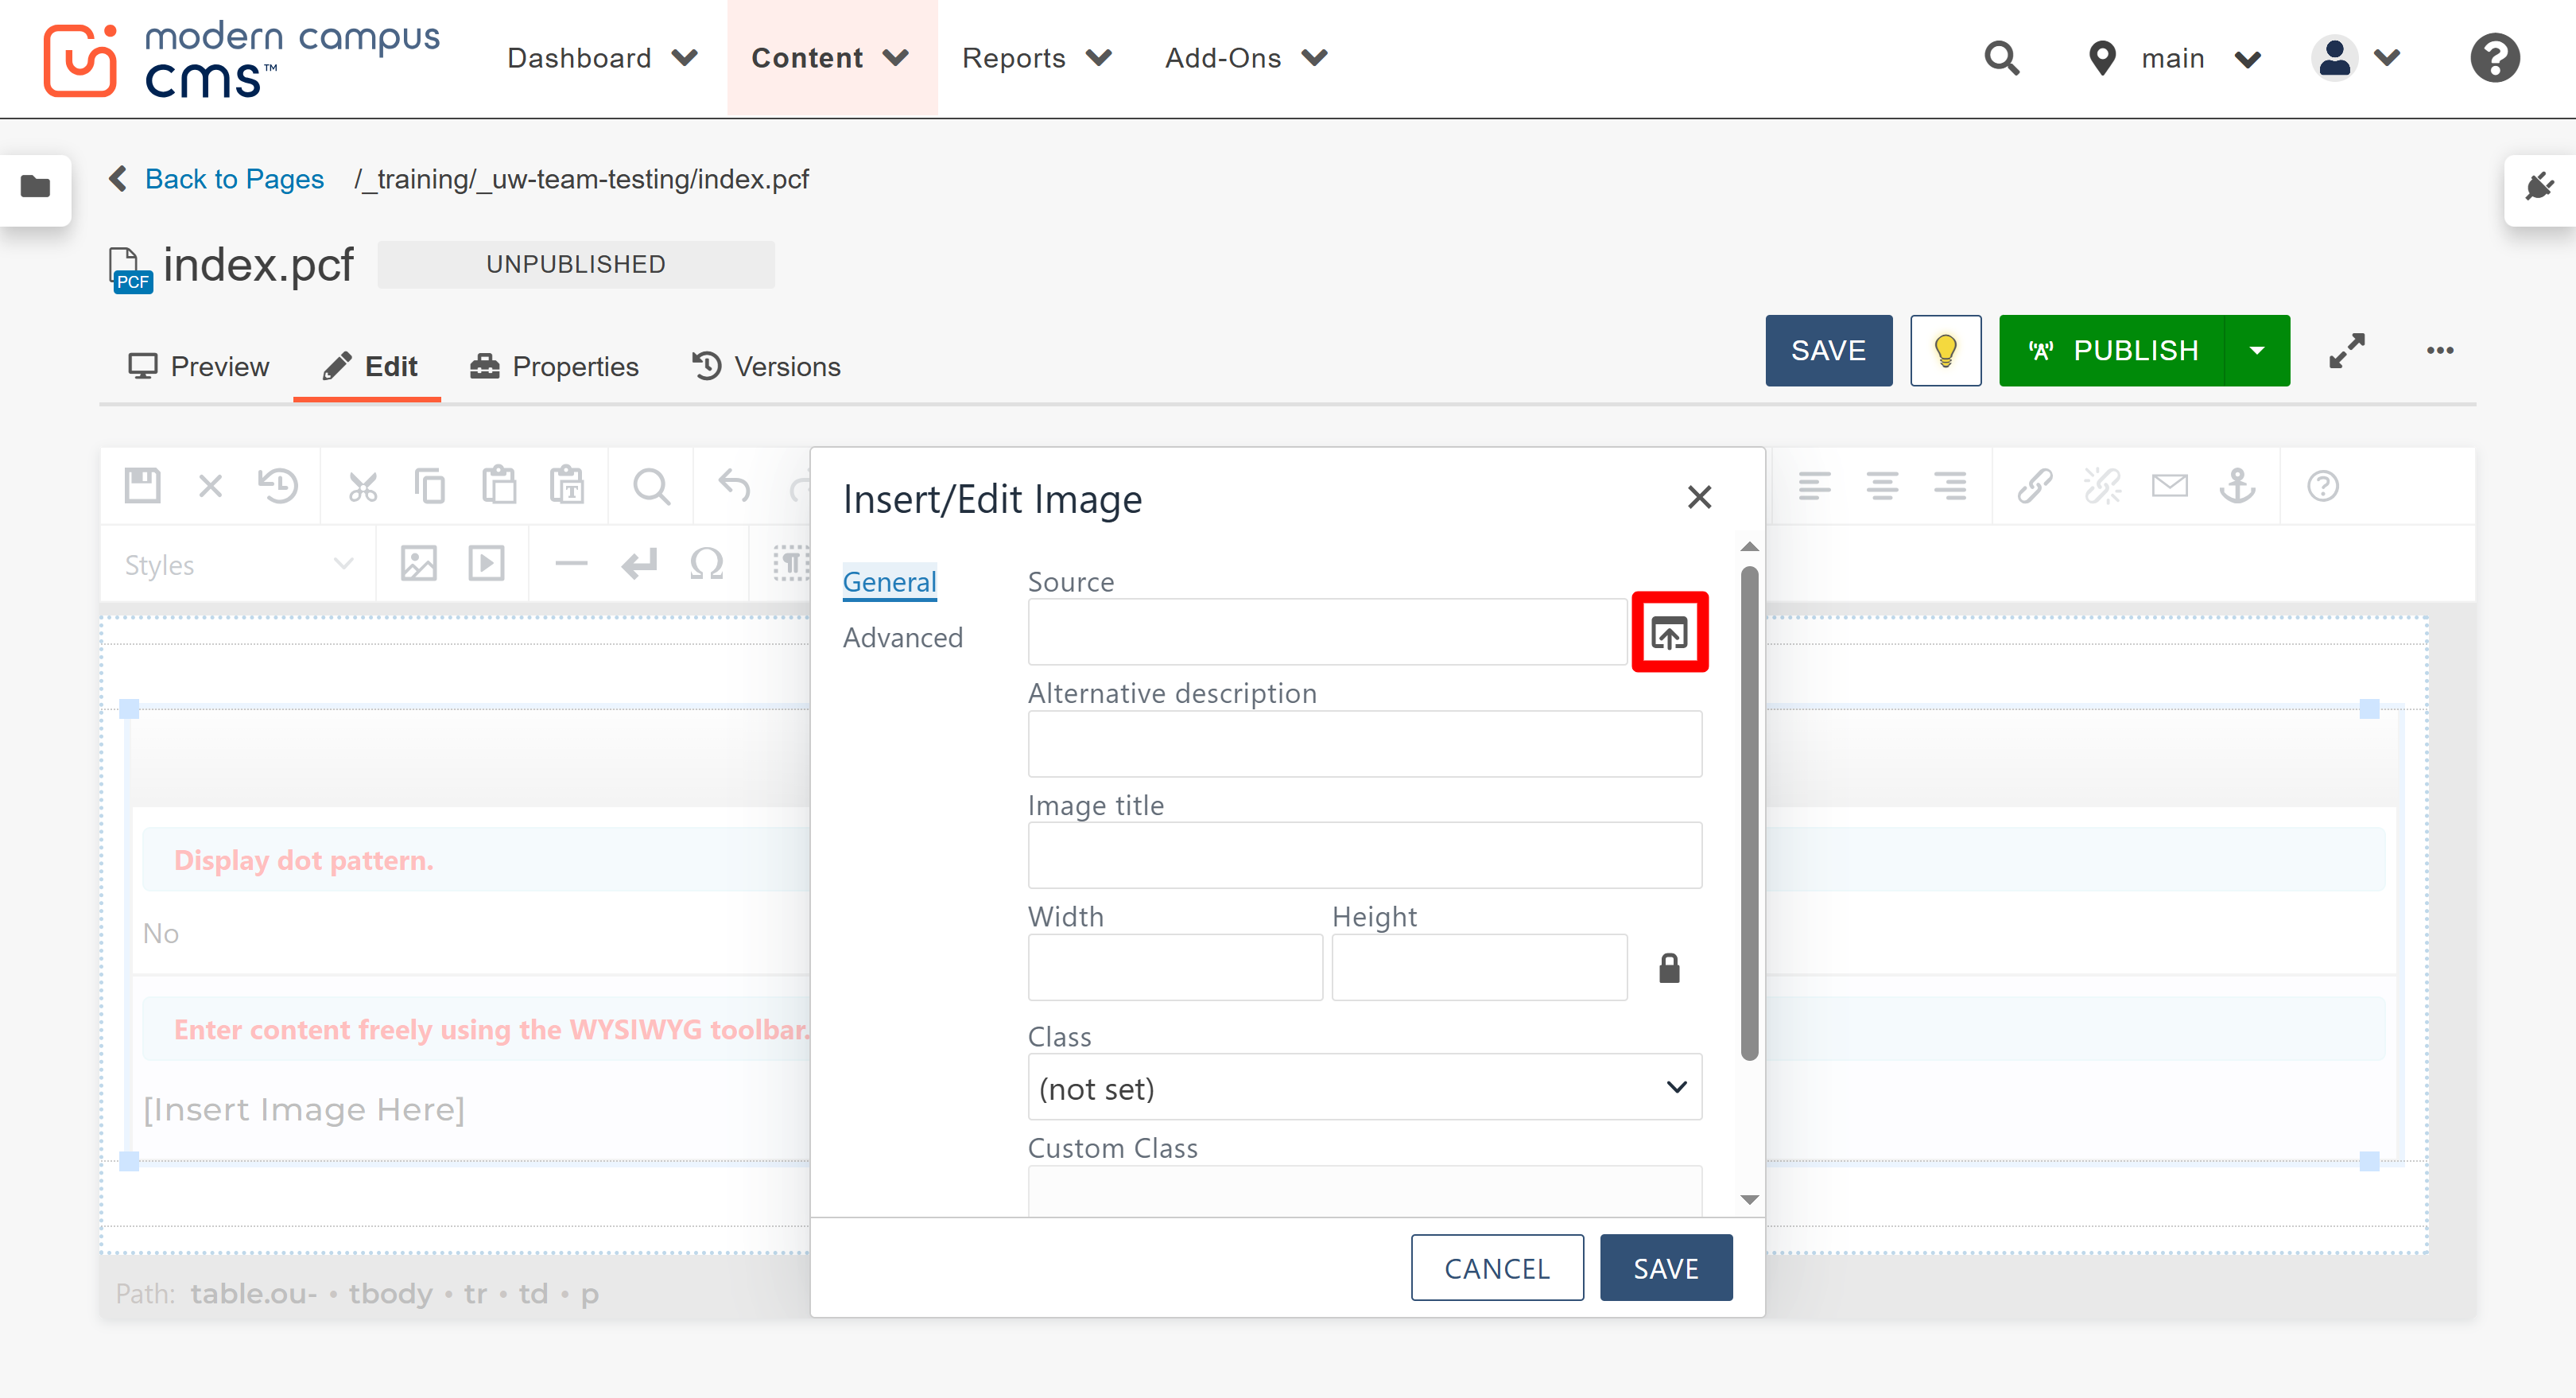
- When the Insert/Edit Image window is displayed, click the Source button.
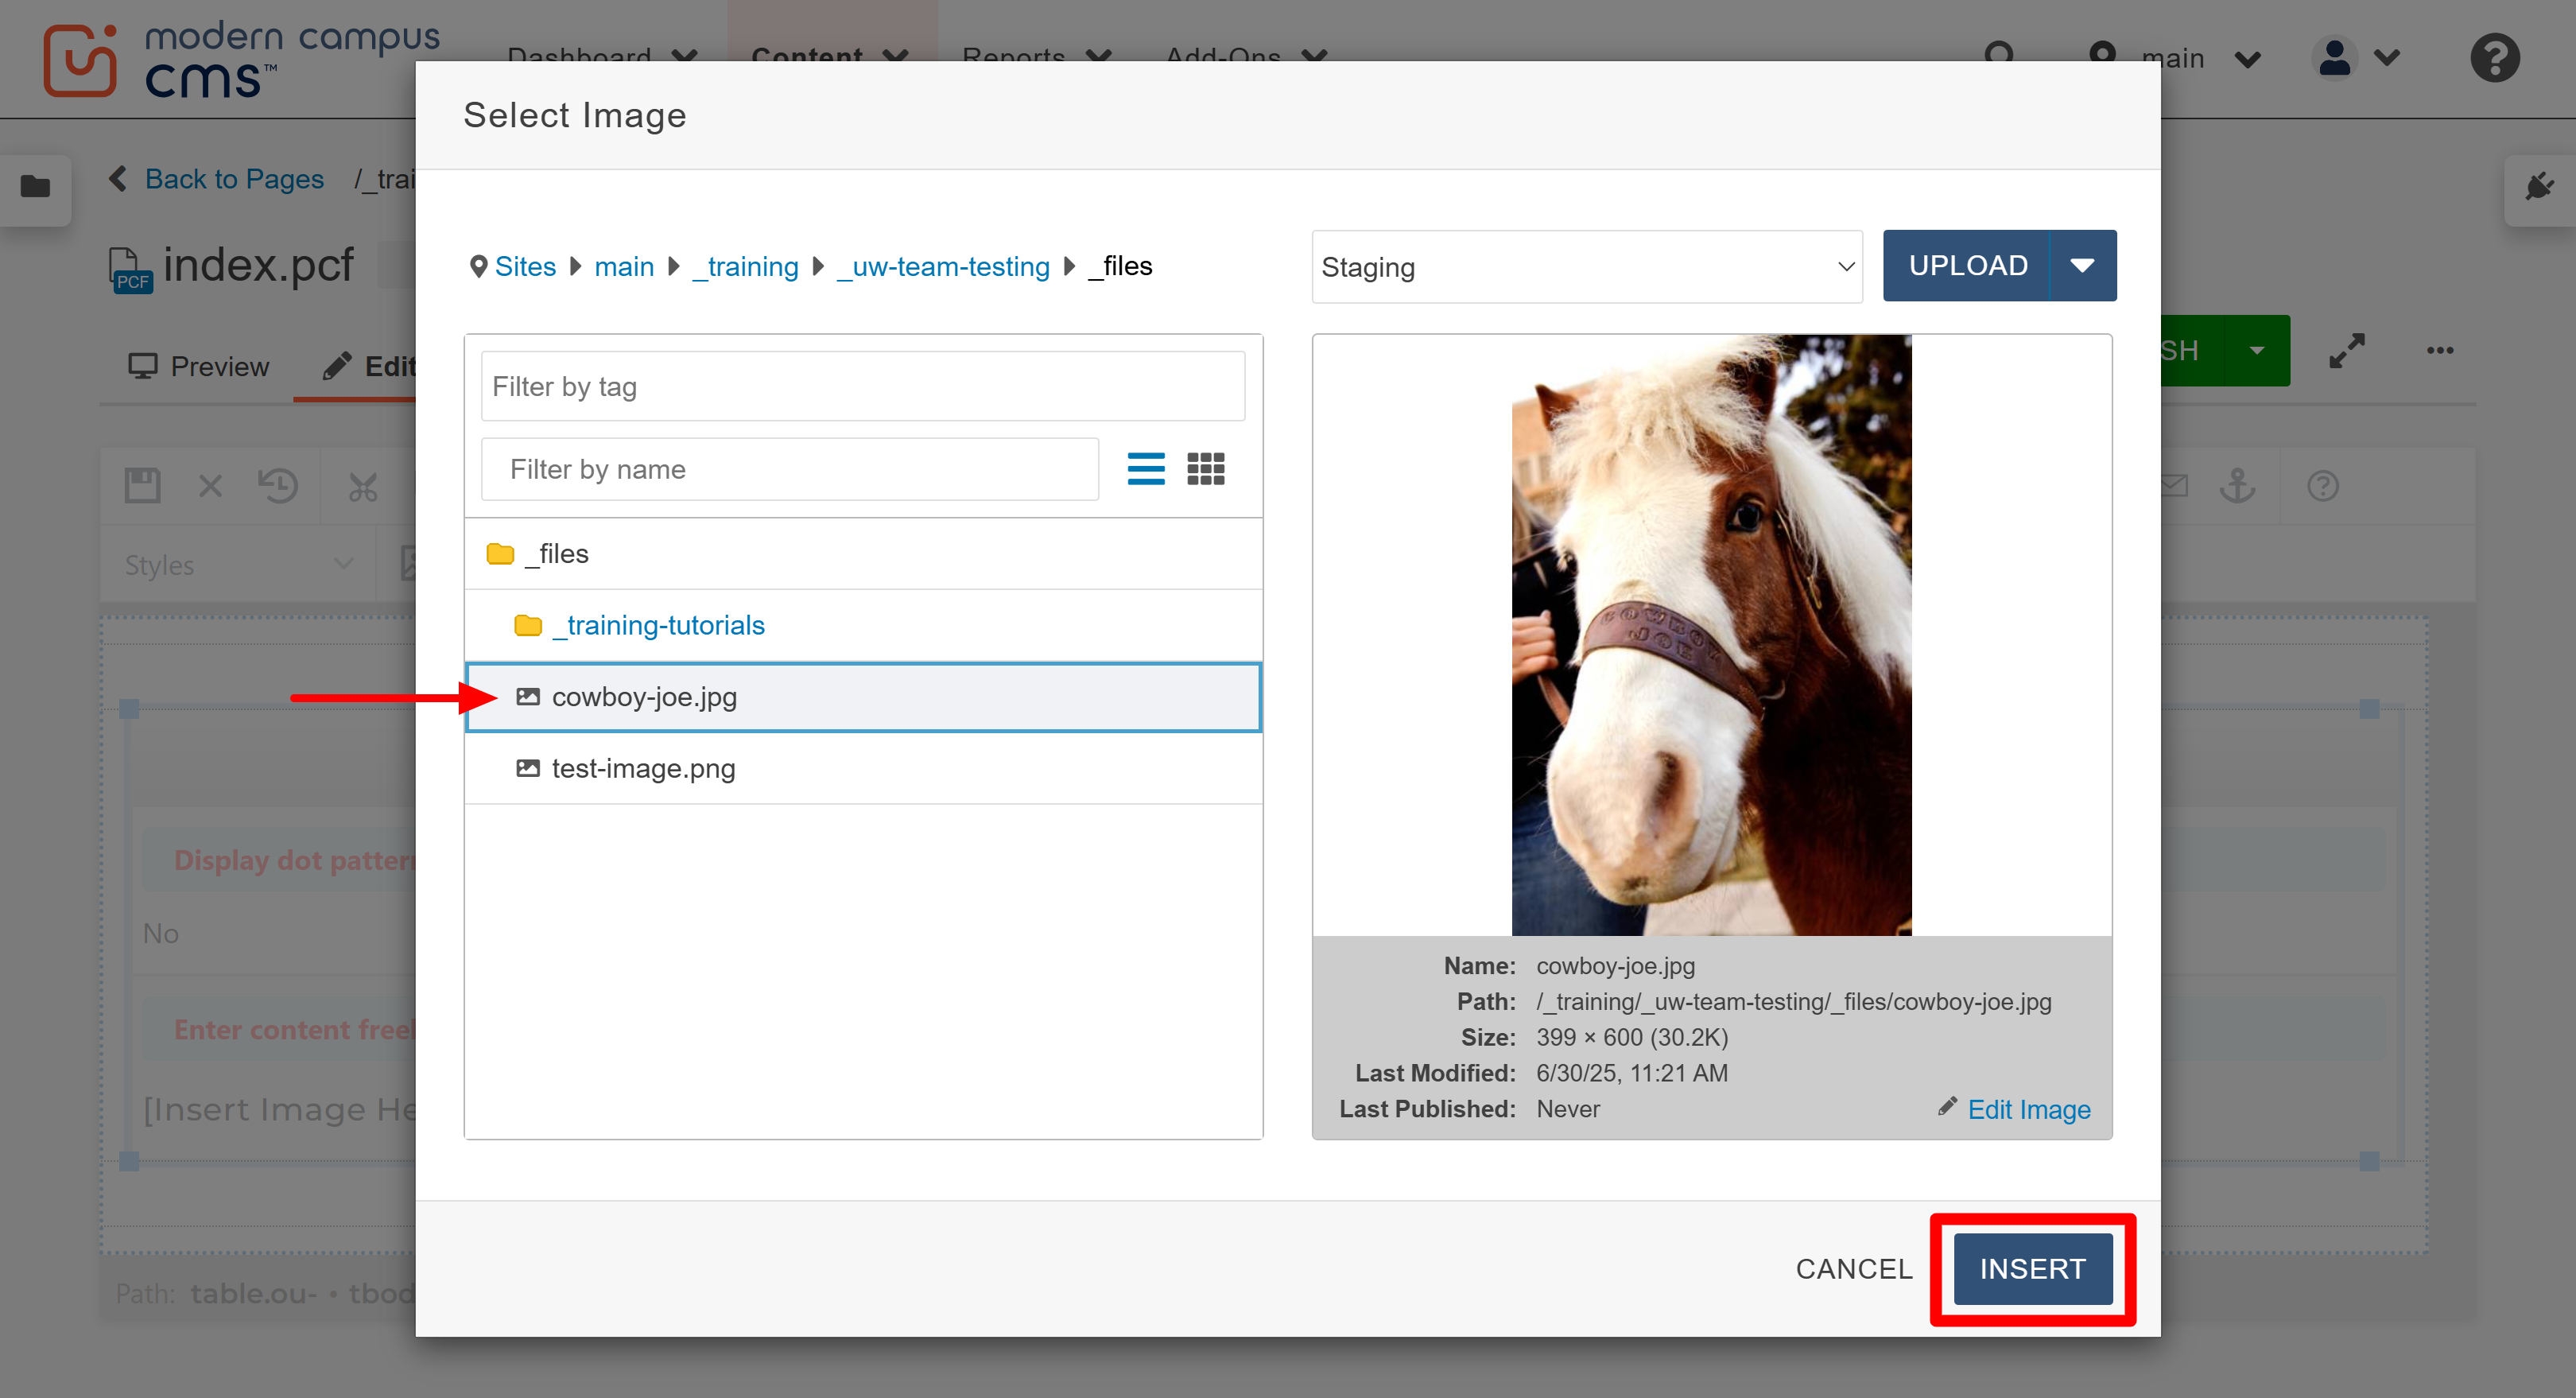
- Once the Select Image window is displayed, locate and select the desired image in
the file browser list. Then, click the Insert button.
- After the Insert button is clicked, you will be taken back to the Insert/Edit Image
window and the unique image ID (dependency tag) number will appear in the source field.
- Type a description in the Alternative description field. All images are required to have alternative text, or "alt text," that briefly describes its content or purpose
in order for your page to be accessible to all page visitors.
Note: From here you can also adjust the size the image will appear on the page. You can only decrease the size, though. Do not increase the size here or your image will appear pixelated. Always leave the lock icon to the right of the height field locked to ensure you do not stretch or distort the image.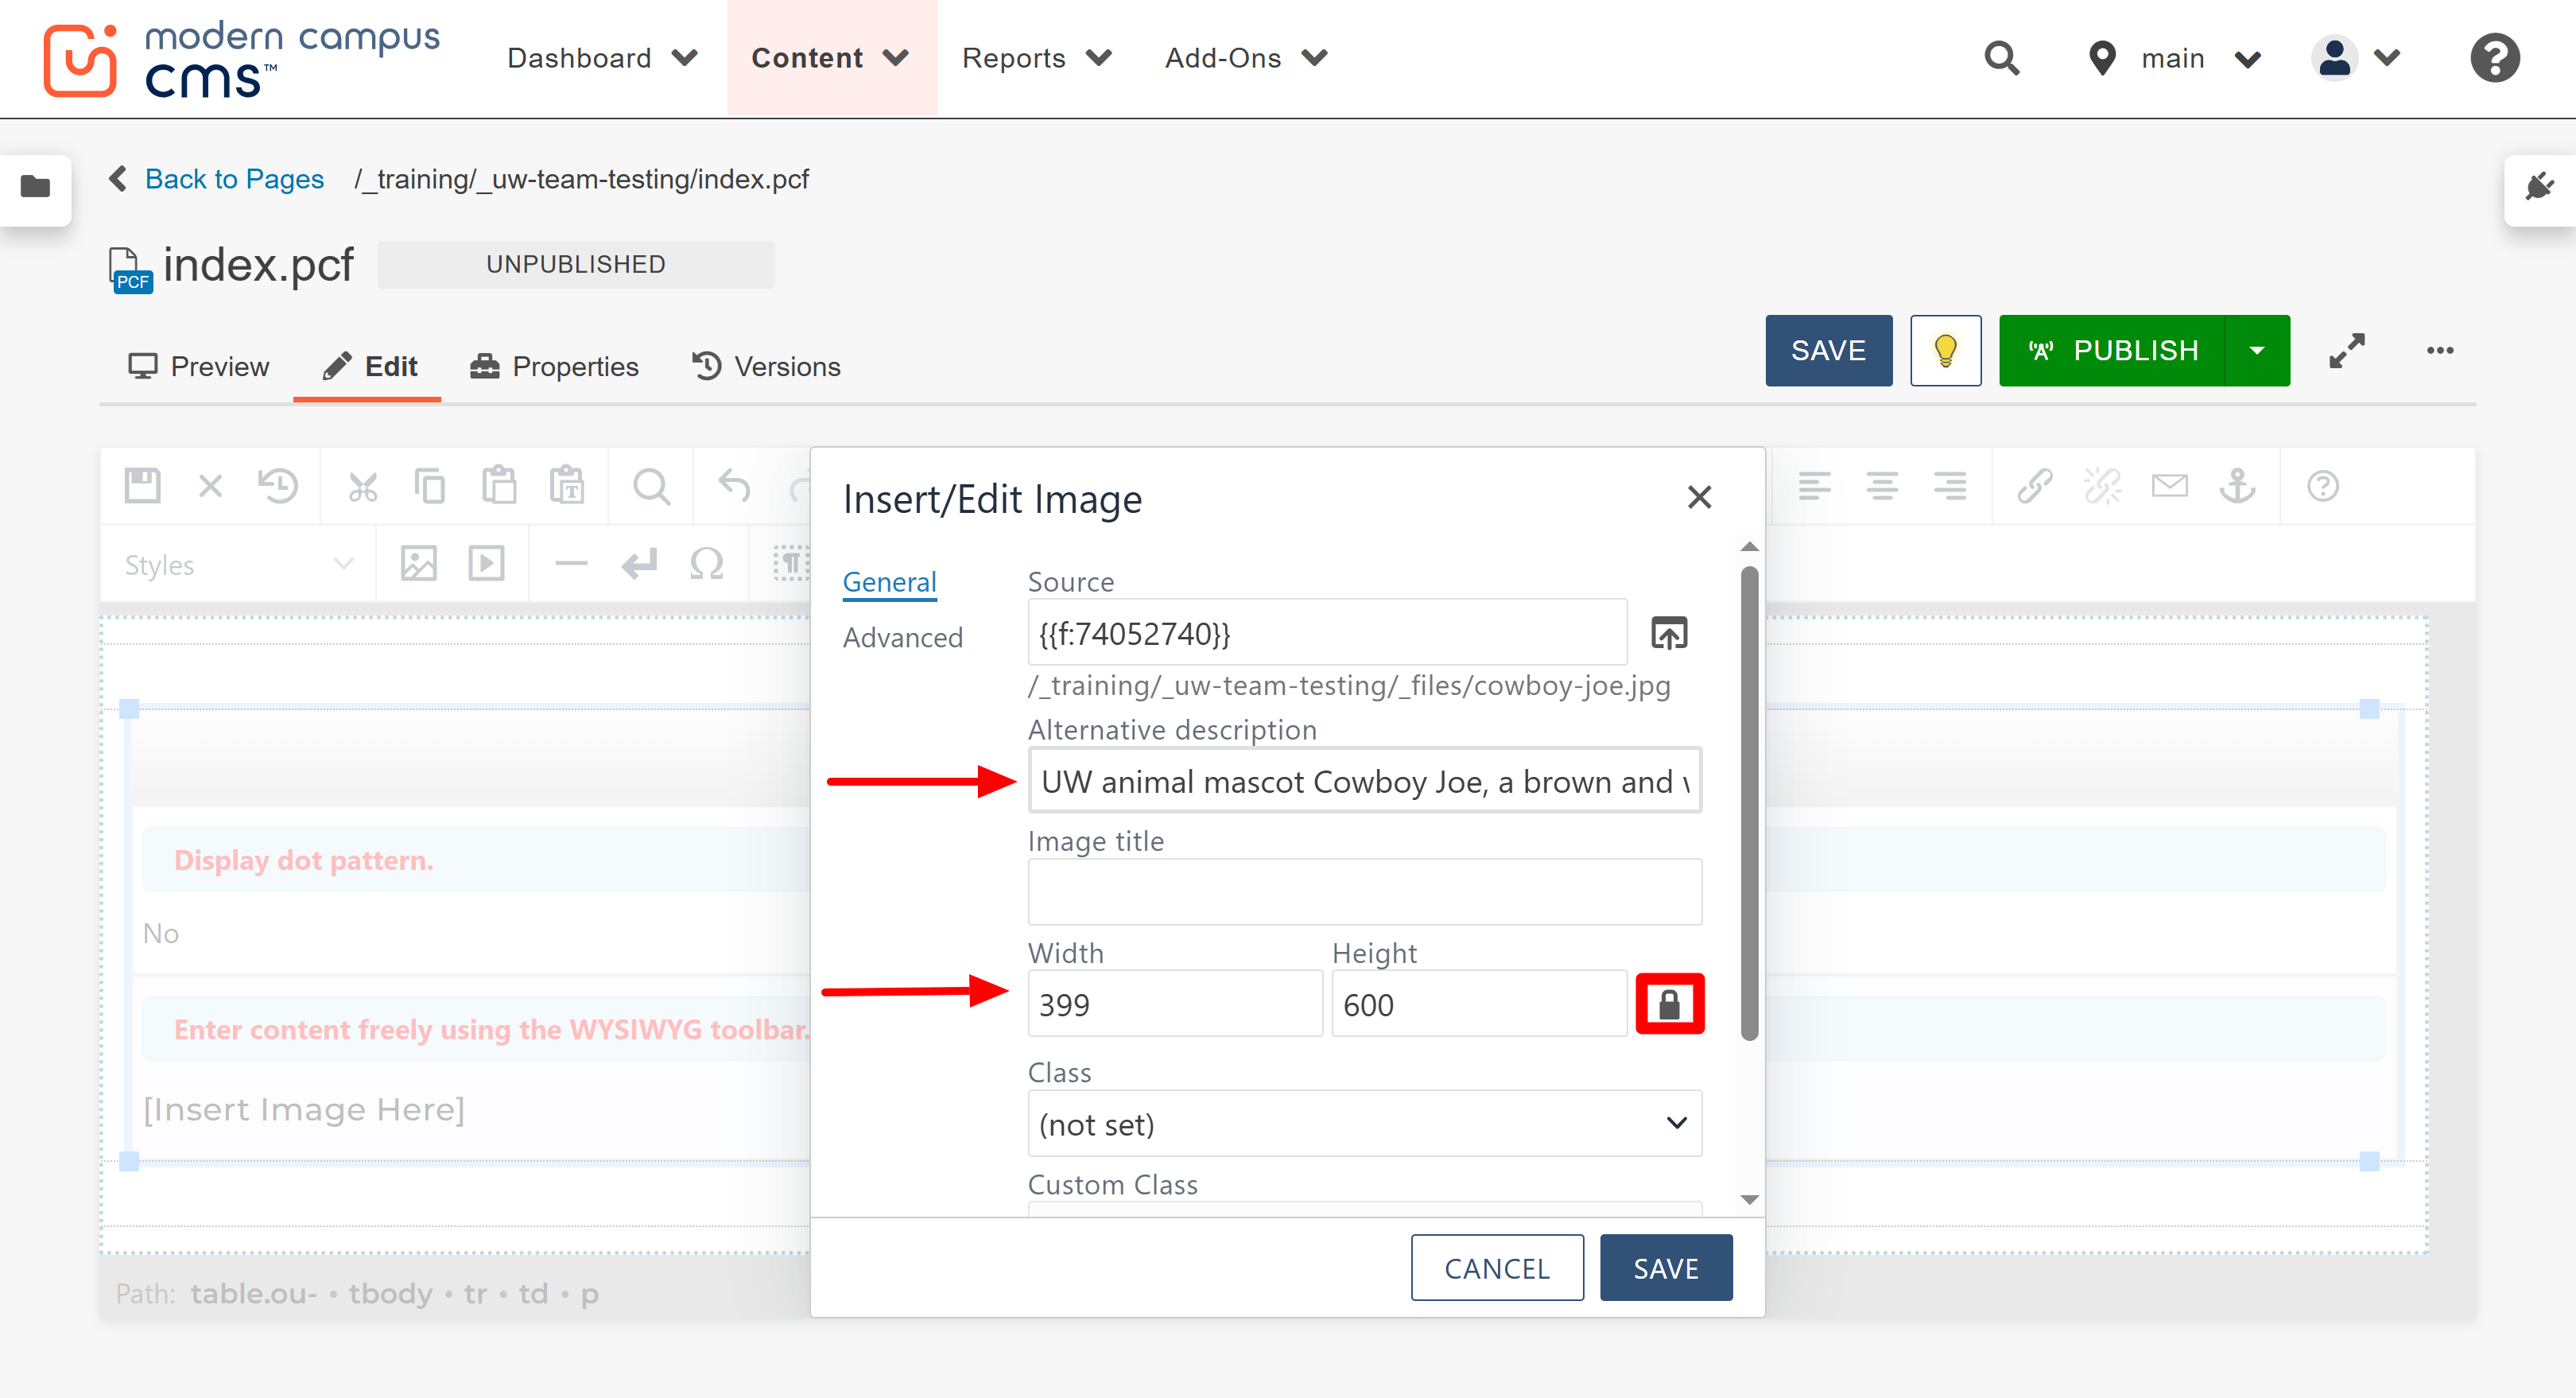
- Click the "SAVE" button when ready to insert the image.
- The image has now been inserted into the selected content region. Save your edits
and view the page in the Preview tab to see how it will appear when published.
Note: If your image appears in the preview tab like the one below, with only a small broken image icon and the alt text showing, this means that the image wasn't published. Review the uploading an image guide for more information about properly uploading and publishing images.