
Important Asset Information
Naming Convention
Assets should be named with the proper naming convention similar to forms in the forms module:
SITE NAME - Asset Name
Tip: asset name should be descriptive enough to explain its purpose. For example, WEB - 2026 Web Accessibility ChecklistAccess Settings
In the Access Settings, change the Access Group and Available To settings to your site. Failure to so so will give all other sites access to and editing access to your asset.
Publishing an Asset
If you make edits to an existing asset and republish it, pages where it is linked will be republished. However, it is always a good idea to manually republish those pages to make sure changes take effect.
Using Assets in the CMS Video Tutorial
Using assets in the CMS is a straightforward process. Follow along with this video tutorial to create your first asset, explore asset types, set-up and settings and placing it on page(s).
Step-By-Step Instructions - Using Assets in The Cms
Assets are a great way for reusable content to be displayed on your page. Follow along this step-by-step instructions to create your first asset.

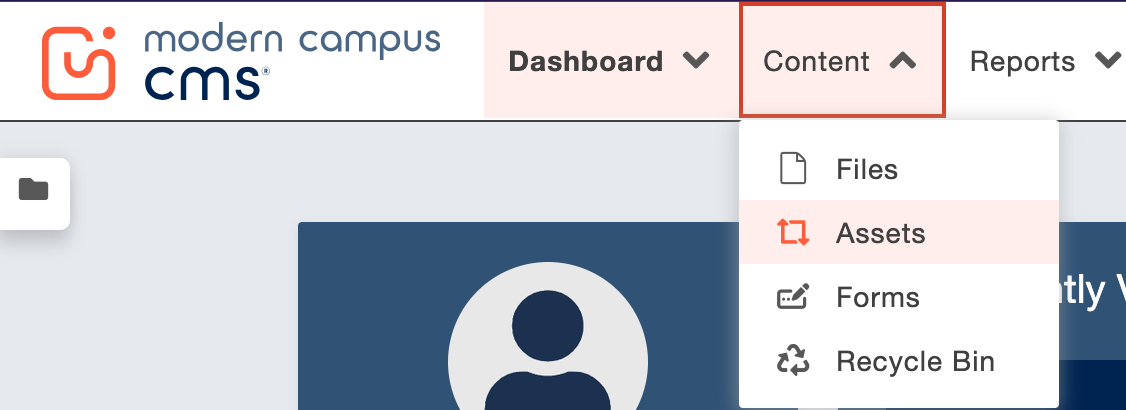
Navigate to Content then Assets from the dropdown menu.
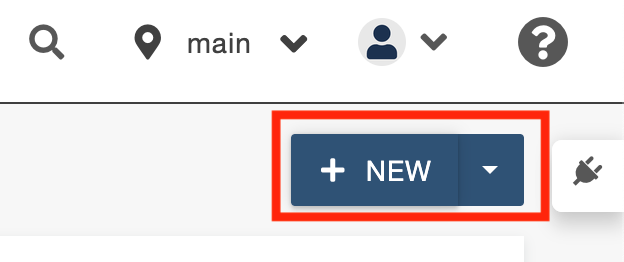
Click the "+ New" button located in the upper right corner
From the pop-up screen, two asset types will be available.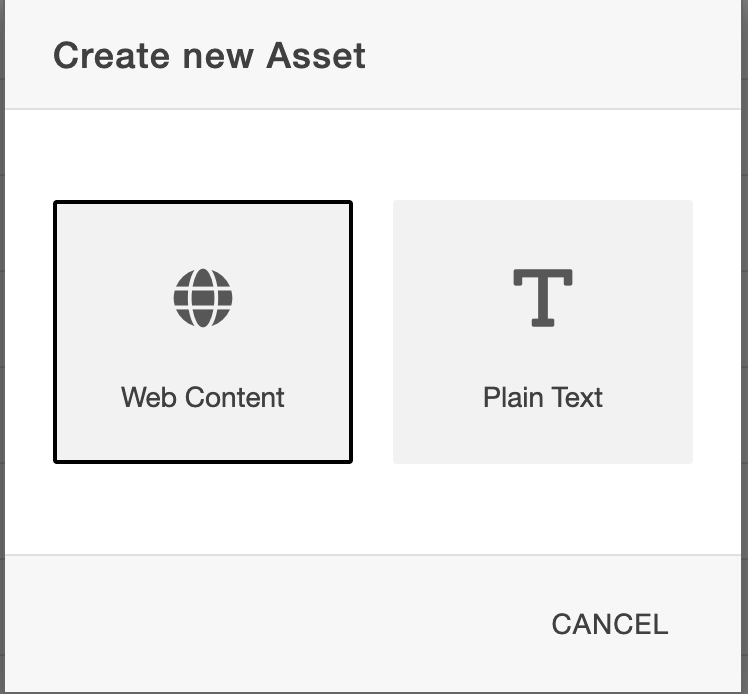
- Web Content: Most flexible assets with a wide variety of uses.
- Uses: inserting media like videos or images, text, snippets and source code for embedding iframes
- Plain Text: text only, adopts UW's text styling
- Uses: information like deadlines or statistics
Select the asset that best fits your content needs and you will be redirected to the initial Asset set-up.
Fill out the required Asset Settings:
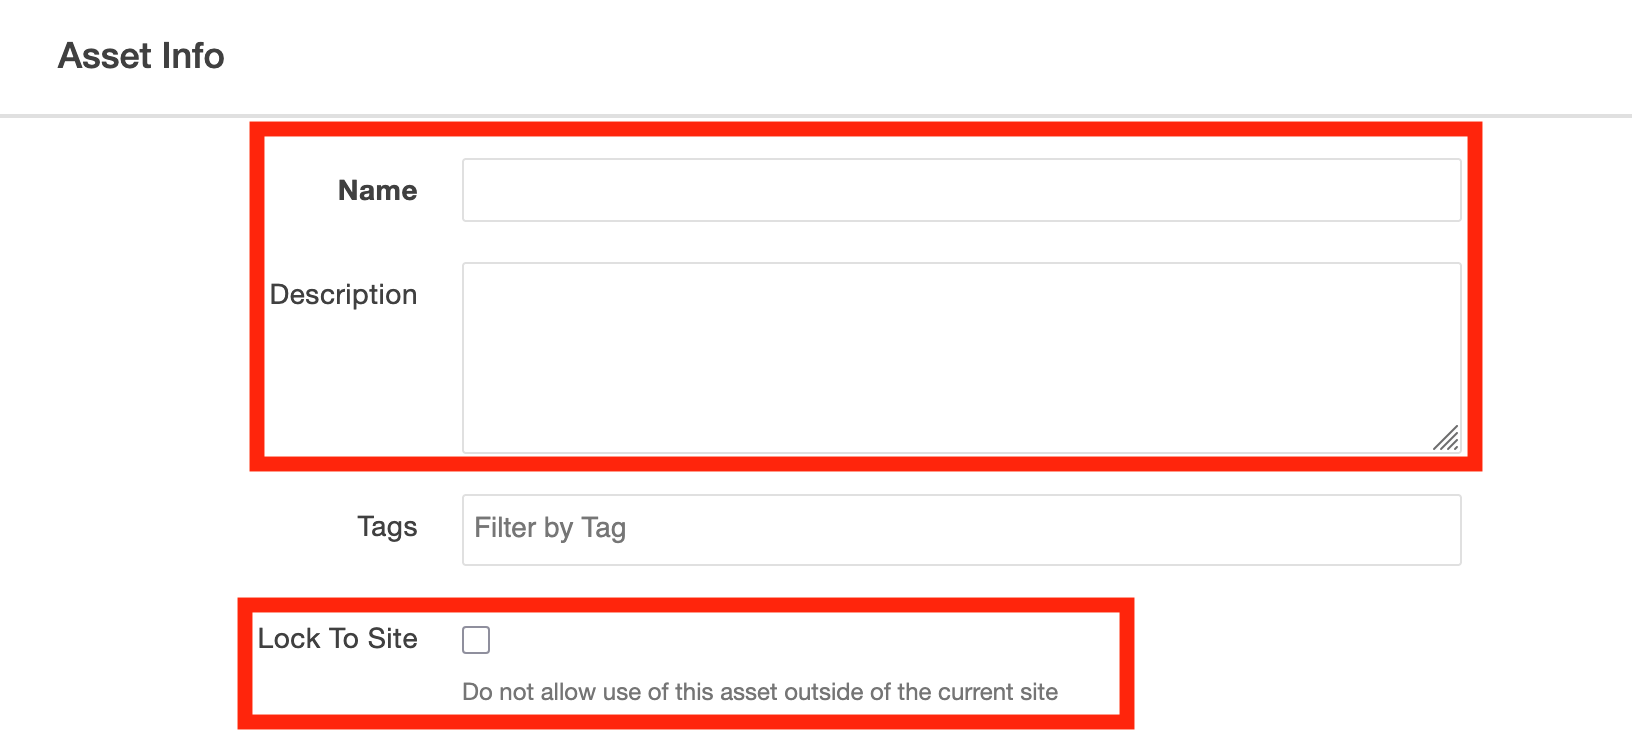
Asset Info
- Name: fill out the name of the asset. Follow the naming convention: SITE - Asset Name. For example: WEB - Asset Tutorial
- Description: add a helpful description that details the assets purpose.
- Lock to Site: check this if you want to restrict this asset to only be used on your
site, e.g. WEB.
Note: Changing access settings prevents other sites only from viewing and editing your asset. They are still able to add your asset to their site unless "Lock To Site" is checked.
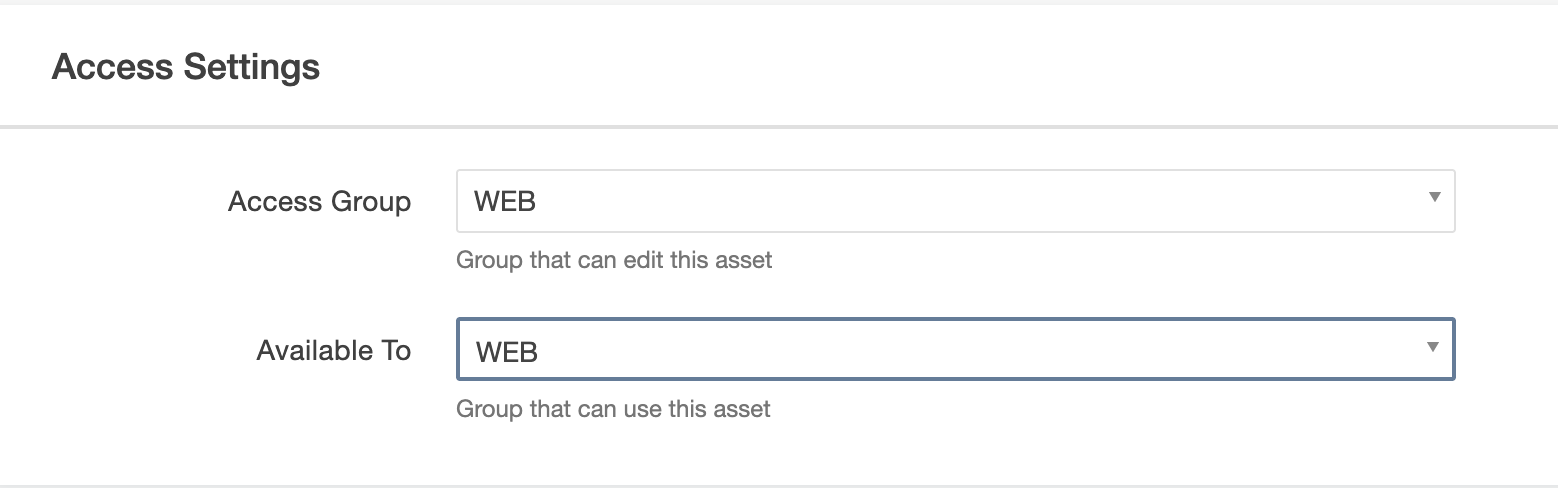
Access Settings
- Access Group: designates which site can edit this asset. Set to your specific site.
- Available To: designates who can place this asset on a page. Set to your specific site unless this asset can be freely utilized by other sites.
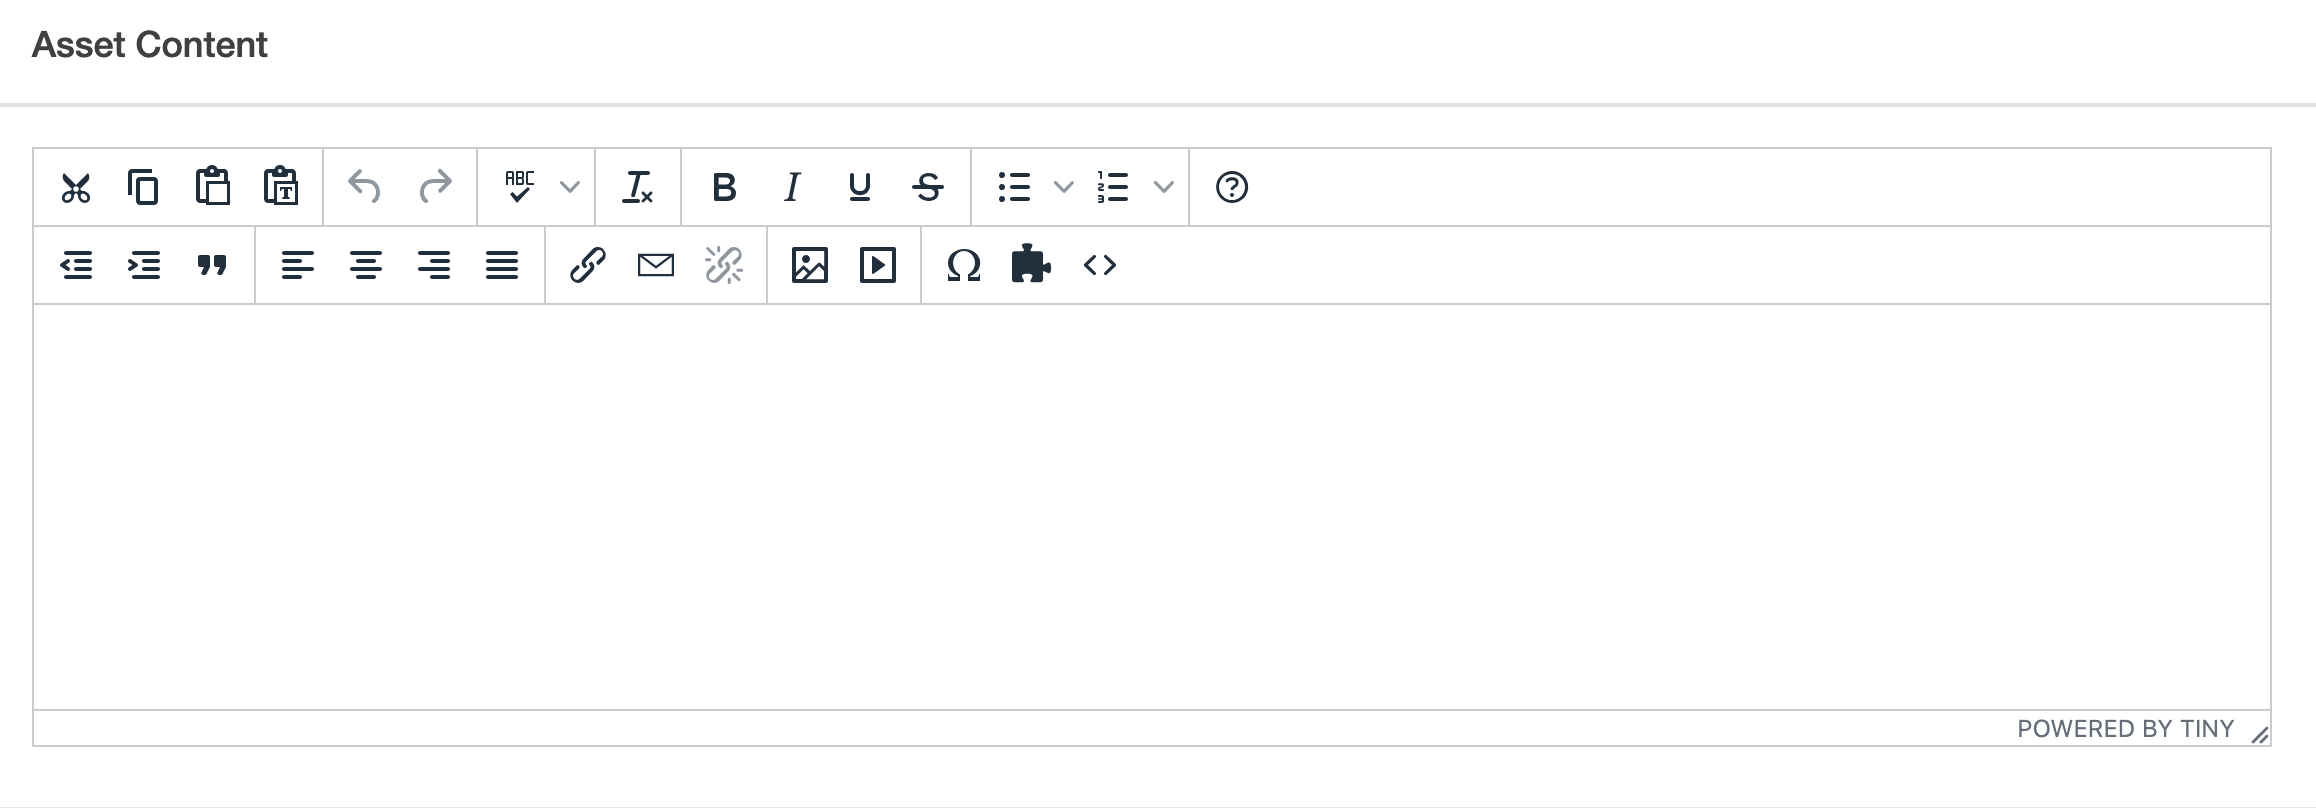
Asset Content
- Utilize the WYSIWYG toolbar to create or insert your content.
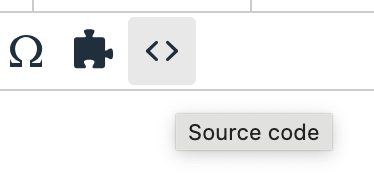
Note: to insert an iframe, use the source code icon.
A note on iframes and accessibility: All iframe elements on a page must have a title
that is not empty to describe their contents to screen reader users. Screen reader
users rely on a frame title to describe the contents of the frame. Check to make sure
the iframe has a title. If it does not, type
title="your title in between quotation marks"
to the end of the embed code (but still within the ></iframe> tag).
Make edits to the assets using the WYSIWYG toolbar. Publish the asset on initial creation and after editing in the future. To publish, click the green "Publish" button located in the upper right corner.
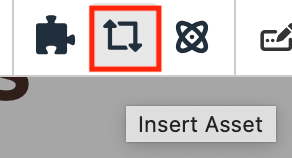
Navigate to the page(s) where you would like to insert the asset. Check the page out and select the "Edit" tab and open up the content section where the asset will be placed. Remove any placeholder text/buttons and then select the Insert Asset icon from the WYSIWYG toolbar.
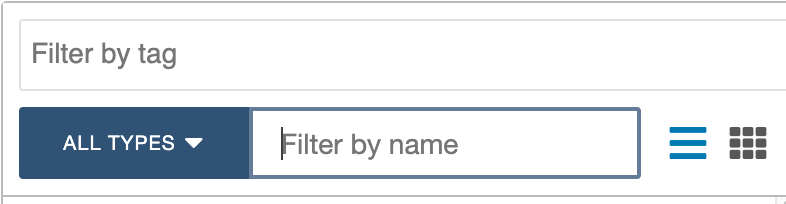
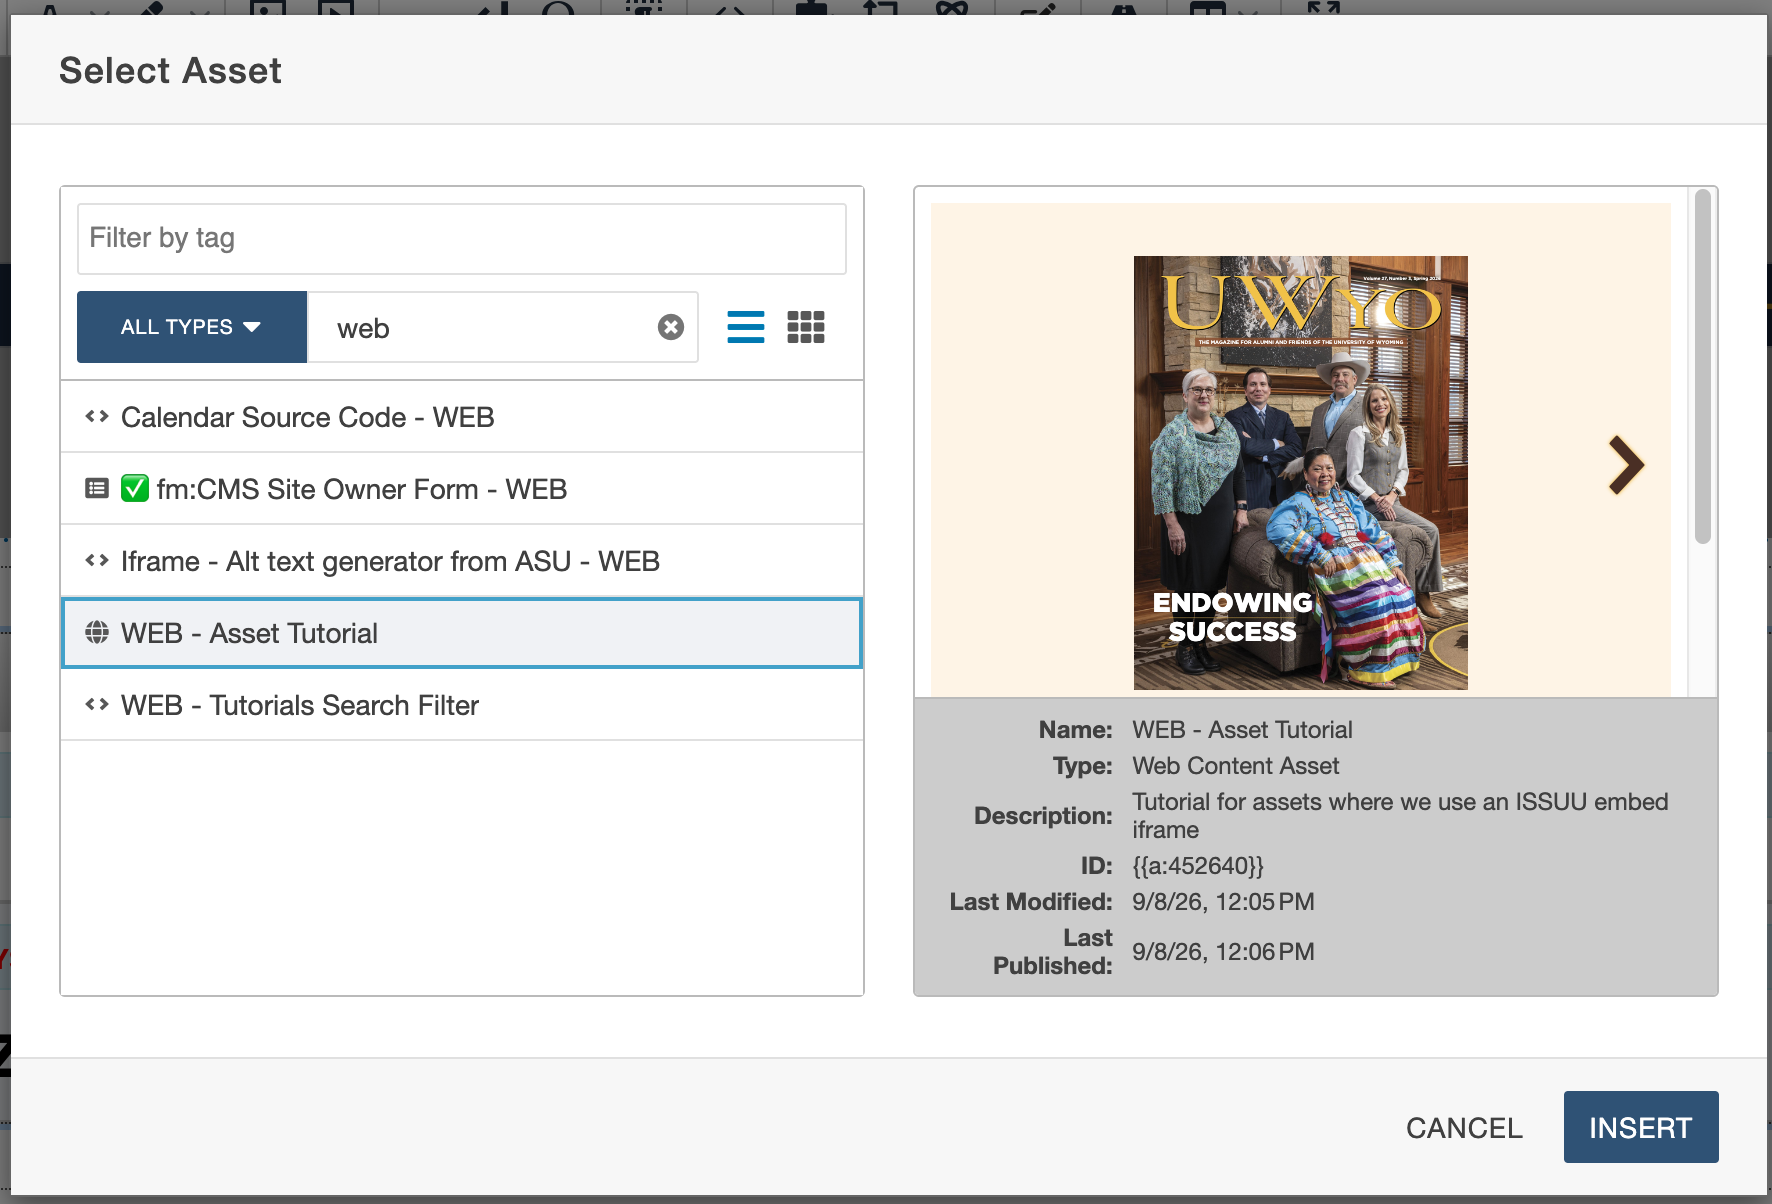
Locate your asset by either scrolling through the available assets or using the "Filter by name" text box.
Once the asset is located, click insert
Click the blue "Save" button in the upper right corner to display the asset.
Make any other edits to the page and then publish to both Production and DEV.
You cannot directly edit an asset from a page. You must navigate back to Content > Assets and make any edits there. When you publish an asset linked to page(s) within the CMS, the pages will be republished. However, it is a good idea manually republish pages to ensure these changes take effect.

The University of Wyoming has earned its Research Level 1 (R1) status from the Carnegie Classification of Institutions of Higher Education, placing Wyoming's only four-year university with the top research universities in the United States.